|
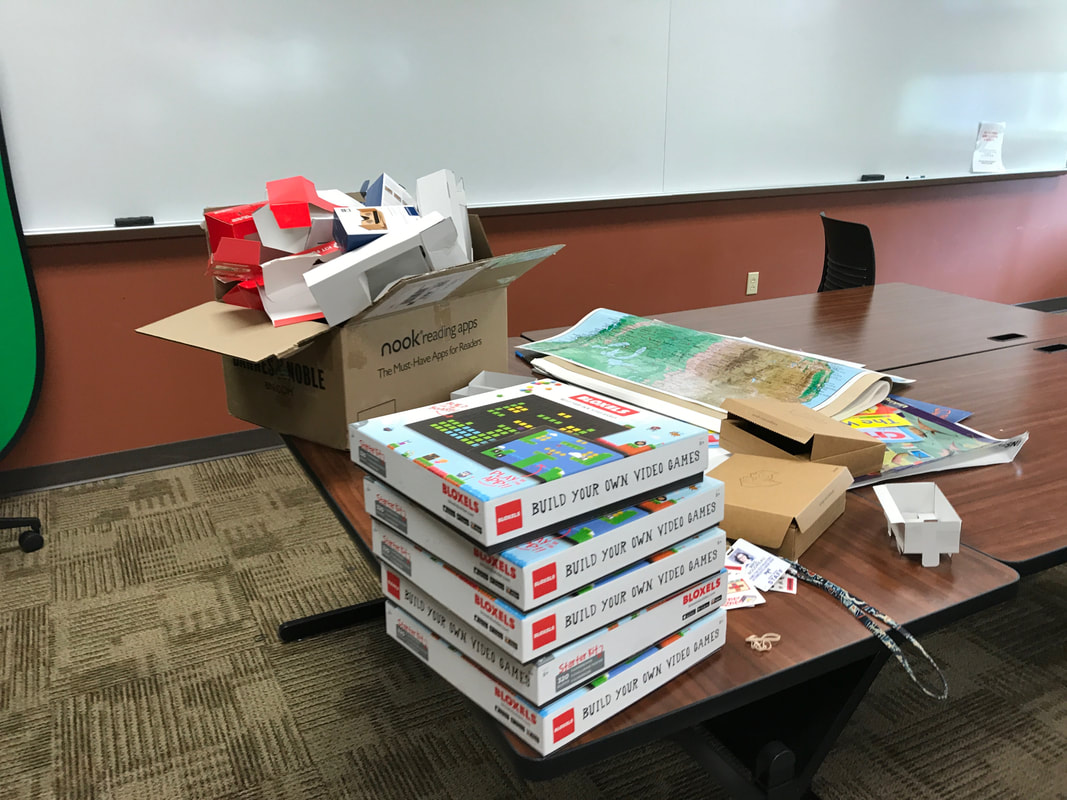
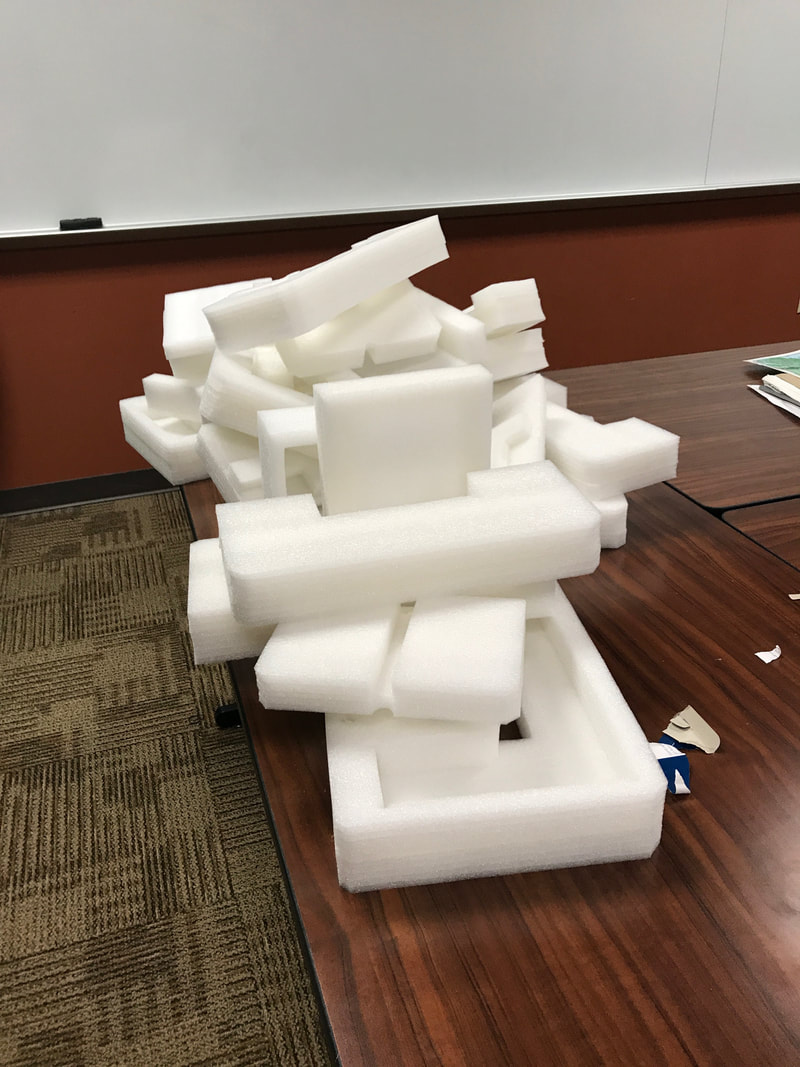
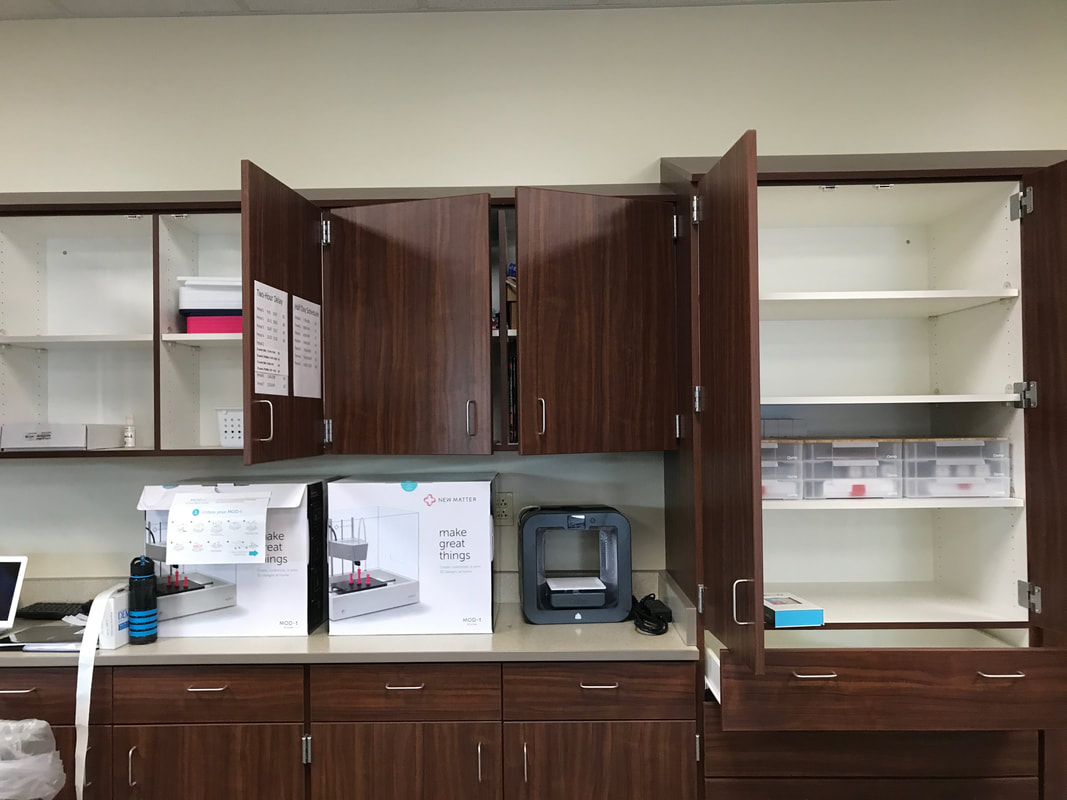
The one thing I didn't take into account when I ordered makerspace items was unboxing! Some of the items took a fair amount of time and a few plastic/paper cuts to get unboxed, and I definitely made a bigger mess before I made a smaller one! About two weeks ago now I worked on barcoding and organizing the makerspace items we have so far. I basically barcoded EVERYTHING so that we can keep track of what we have, who is using it, and be able to check our inventory as the space will continue to grow. My district uses Follett's Destiny, but I'm sure you could barcode and enter your makerspace items in any library system. I always keep several extra barcodes on hand that I printed out on Avery labels myself using Destiny. I didn't barcode the 3D printers at this time, because I don't see them ever leaving the counter they're currently on, but I'm considering barcoding them later for inventory purposes. As I put the items into the system I entered all of mine as Equipment, which in my system is set to only let teachers check out those items and for a 3 day default. This is exactly how I want check out for these items to work as we start out. I can always tweak those settings or make a new category later if I think it's needed. I also referenced my POs to accurately enter the amount spent on the items. On some of the items I also entered in their Destiny records who the vendor was and where the funds came from. Some of these items were purchased with a grant and some were purchased with school technology funds. I also made a List in Destiny of Makerspace Items for quick reference. And I made a new patron named Makerspace Lab to check out a few of the makerspace items that I want to stay in the lab throughout the year. That way those items still have the barcode and item in the system, but it won't look like it's available for check out to teachers. As I was going, I decided to take a photo of all of the pieces that come with the Osmos, Bloxels, and Makey Makeys with my phone. I had thankfully purchased some large mailing labels at a store in preparation for makerspace organization but hadn't decided what I used them for yet. But as I was unboxing and labeling, I thought it'd be good to have a reference list of what each container should include to hopefully improve my odds of getting all of the pieces back and less pieces being lost! The large mailing labels worked perfectly. I found the right Word template for that Avery label and then typed up a bullet point list of what all should be inside that container with a picture to go along with it! I was excited with how they turned out! I covered them with clear label protectors to help them last longer and keep from getting torn off accidentally. I also ended up with a pile of extra styrofoam that the 3D printers had been boxed in, so half of those pieces I gave to a STEM teacher, and the other half I'm storing for now for a STEM teacher or myself to use down the road. I have a few ideas for the cardboard boxes and trays the 3D printers came in too, so I'm hanging on to those. I'd love to turn them into mini green screens, back drops for stop action movies, a filming booth, or something along those lines when I have time later in the year. So I'd definitely recommend looking through your "trash" as you unpack your items to see what might be worth hanging on to! I had purchased several clear totes with lids for $0.99 each by Wal-Mart's Back to School section. I bought 3 colors of lids in case color coding comes in handy as we continue to build the makerspace, but that's not a concern with our currenty quantity. I have removable labels that I for now wrote on with a maker as to what is in each cupboard. Once I know for sure I'm happy with that location, I'll probably go back and type them but will still use removable labels. I want the organization to be well labeled and easy to find things but also easy to move and fluid as we get more items and grow. Thankfully there are a lot of cupboards and drawers. Though some of what's in them I'm not sure who it belongs to or if they're still wanted items, so I'll have to dive into that later on, but for the time being I condensed them down to a few cupboards.
My next steps I think will be to learn how to setup the 3D printers and to come up with a reference/resource list for staff of what we have and what can be checked out and taken to their rooms and what needs to be used within the makerspace. I'm hoping to spend a chunk of time in the makerspace lab next Monday.
0 Comments
Your comment will be posted after it is approved.
Leave a Reply. |

 RSS Feed
